LED strip lights are super cool for lighting up all kinds of places, but cutting and joining them back needs the right tricks to keep them shining bright. This guide shows you how to safely hook up cut LED strips with solder or connectors, check if they work, and fix stuff like flickering or uneven glow. Learn about must-have tools, easy steps, and neat RAYMATES products that make reconnecting a breeze for DIY fans or pros. Whether you’re jazzing up your home or setting up a shop, this helps you get your LED strips back to full power after cutting.
What Are LED Strip Lights and Their Key Features?
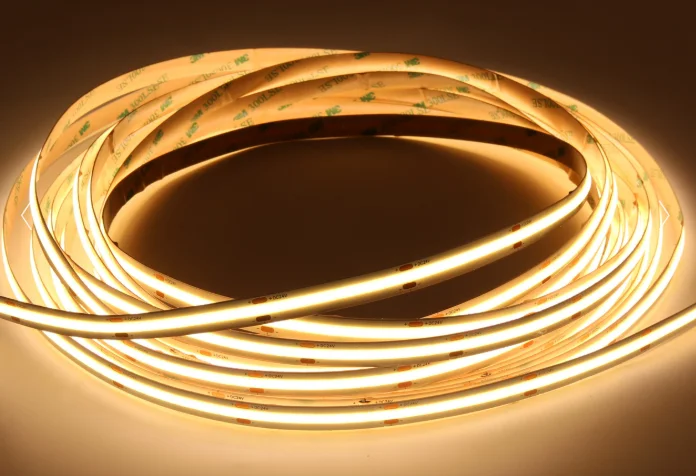
LED strip lights are awesome for tons of lighting jobs, from home decor to shops and restaurants. They’re made of lots of tiny LEDs stuck on a bendy board, so you can put them almost anywhere. Cool things about them include saving energy, lasting super long, being easy to cut to size, and shining in all sorts of colors and brightness. They’re great for stuff like cozy home lighting, showing off building designs, or making fun effects in party spots.
What Components Influence Performance After Cutting?
When you snip an LED strip, a few parts decide if it keeps working great. Each strip has circuits with LEDs, resistors, and copper paths. Cutting breaks these links, so you need to join them back to keep the power flowing. Also, the quality of solder pads and connectors matters a lot for hooking things up again. Making sure these bits are okay after cutting is super important to keep the strip glowing strong.
How Should You Prepare Before Reconnecting LED Strips?
What Tools and Materials Are Necessary for Reconnection?
To join LED strips back after cutting, you need some special gear:
- Soldering Kit: Comes with a soldering iron and tin wire or solder paste.
- Connectors: Clips that join strips without soldering.
- Power Supply: Matches your strip’s voltage, like 12V or 24V.
- Heat Shrink Tubes: Covers soldered spots to stop short circuits.
- Cutting Tools: Sharp scissors or a knife for clean cuts.
- Multimeter: Checks if electricity flows correctly.
Having the right stuff makes reconnecting easy and trustworthy.
What Safety Precautions Should Be Taken?
Staying safe is a big deal when messing with electrical stuff. Always unplug the power before touching the LED strips to avoid shocks. Wear heat-proof gloves when soldering to keep from burning your hands. Work in a spot with lots of air to steer clear of breathing in solder fumes. Plus, wrap up all connections good to stop short circuits.
How Can You Reconnect LED Strips After Cutting?
Is Using Connectors a Seamless Option?
Connectors are a super-easy way to join LED strips without needing fancy skills or tools. They clip onto the copper pads at the ends of cut strips to keep electricity flowing. Here’s how to do it:
- Line up the strip’s cut ends with the connector’s slots.
- Snap the connector shut tight to make contact.
- Plug in the strip to see if it lights up.
Connectors are perfect for DIY folks since they skip soldering but still work great.
Why Is Soldering Considered Reliable?
Soldering gives a strong, pro-level fix for joining LED strips after cutting. You melt tin wire to stick the copper pads on two strip pieces together:
- Peel off any coating from the copper pads.
- Put on flux to help the solder stick.
- Heat the soldering iron and add tin wire to connect the pads.
- Wrap the soldered spots with heat shrink tubing to keep them safe.
It takes a bit longer than connectors, but soldering makes a tough join that holds up against bumps and tugs.
For awesome products to make this easier, check out RAYMATES. They have top-notch stuff like connectors and power supplies made for LED projects.
Ensuring Performance After Reconnection
How Can You Test the Connection for Optimal Functionality?
After joining your LED strips, you gotta test them to make sure they’re working great. Start by checking the soldered spots or connectors to see if they’re tight and lined up with the copper pads. Then, hook the strip to a matching power supply and flip it on. Look at the glow and colors to make sure they’re even all along the strip. If something looks off, it might mean a loose join or broken part.
Using a multimeter is a smart move to test if electricity flows right across the joined spots. It can spot breaks or power mismatches that mess up the strip. Good testing makes sure your LED strips shine bright and stay colorful like they’re supposed to.
What Are Common Issues in Reconnected Strips and How Can You Address Them?
Joined LED strips might have problems like flickering, uneven glow, or not lighting up at all. Flickering usually happens from loose joins or a power supply that’s too weak. To fix it, check all connection spots and make sure they’re super tight. Also, double-check your power supply matches the strip’s voltage.
Uneven glow can come from too much resistance where you joined the strips. Using top-quality soldering or trusty connectors made for LED strips helps avoid this. If a whole chunk doesn’t light up, it might be from damage when cutting or joining. Look at the copper pads with a multimeter and fix any breaks by soldering.
Tackling these issues quick gets your LED strips back to full shine.
Why Choose RAYMATES Products for Your LED Strip Projects?
What Advantages Do RAYMATES LED Strip Lights Offer in Customization?
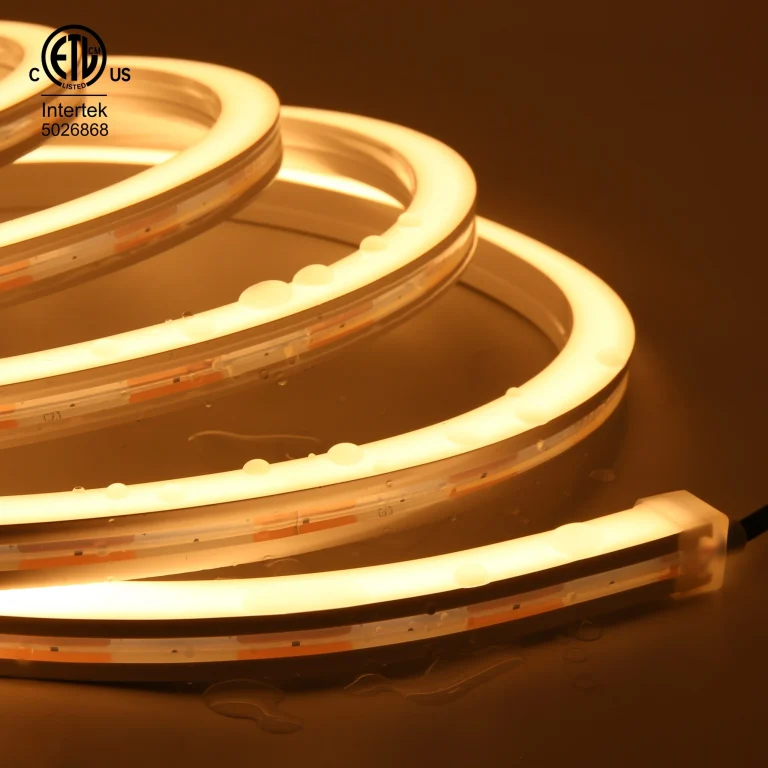
When picking stuff for your LED strip projects, being able to tweak things is super key to getting it just right. RAYMATES has a huge range of LED strip lights with options you can change to fit all kinds of jobs. They offer voltages from 3V to 230V and board widths from 3mm to 30mm. This flexibility lets you use their stuff in all sorts of setups, from home lights to big shop displays.

Additionally, RAYMATES uses neat tech like high CRI (≥90) COB LEDs that show colors super clearly. Their smart designs give an even glow without spotty dots, perfect for making pretty lighting vibes. Whether you want energy-saving home lights or fun displays for parties, these options let you make your ideas a reality.
Which RAYMATES Accessories Are Recommended for Effective Reconnection?
To join cut LED strips well, you need the right extras. RAYMATES offers tons of high-quality accessories made just for flexible LED strip lights. Must-have items include:
- Connectors: Easy clips for joining strips without soldering, keeping power flowing strong.
- Extension Cables: Stretch the gap between strips and power supplies without losing performance.
- Heat Shrink Tubes: Cover soldered spots to stop short circuits.
- Power Supplies: Come in different voltages to fit your project’s needs.
Using these extras in your setup makes joining strips smooth and keeps your LED lights working great for a long time.
FAQs
Q1: What should I do if my joined LED strip flickers?
Check all join spots to make sure they’re tight. Also, make sure your power supply fits the strip’s voltage needs.
Q2: Do I need special tools to test joined strips?
Yup, a multimeter is super handy for checking if electricity flows right across joined spots.
Q3: Can I use any connector brand with RAYMATES LED strips?
Other brands might work, but RAYMATES connectors are best for fitting perfectly and staying trusty.